
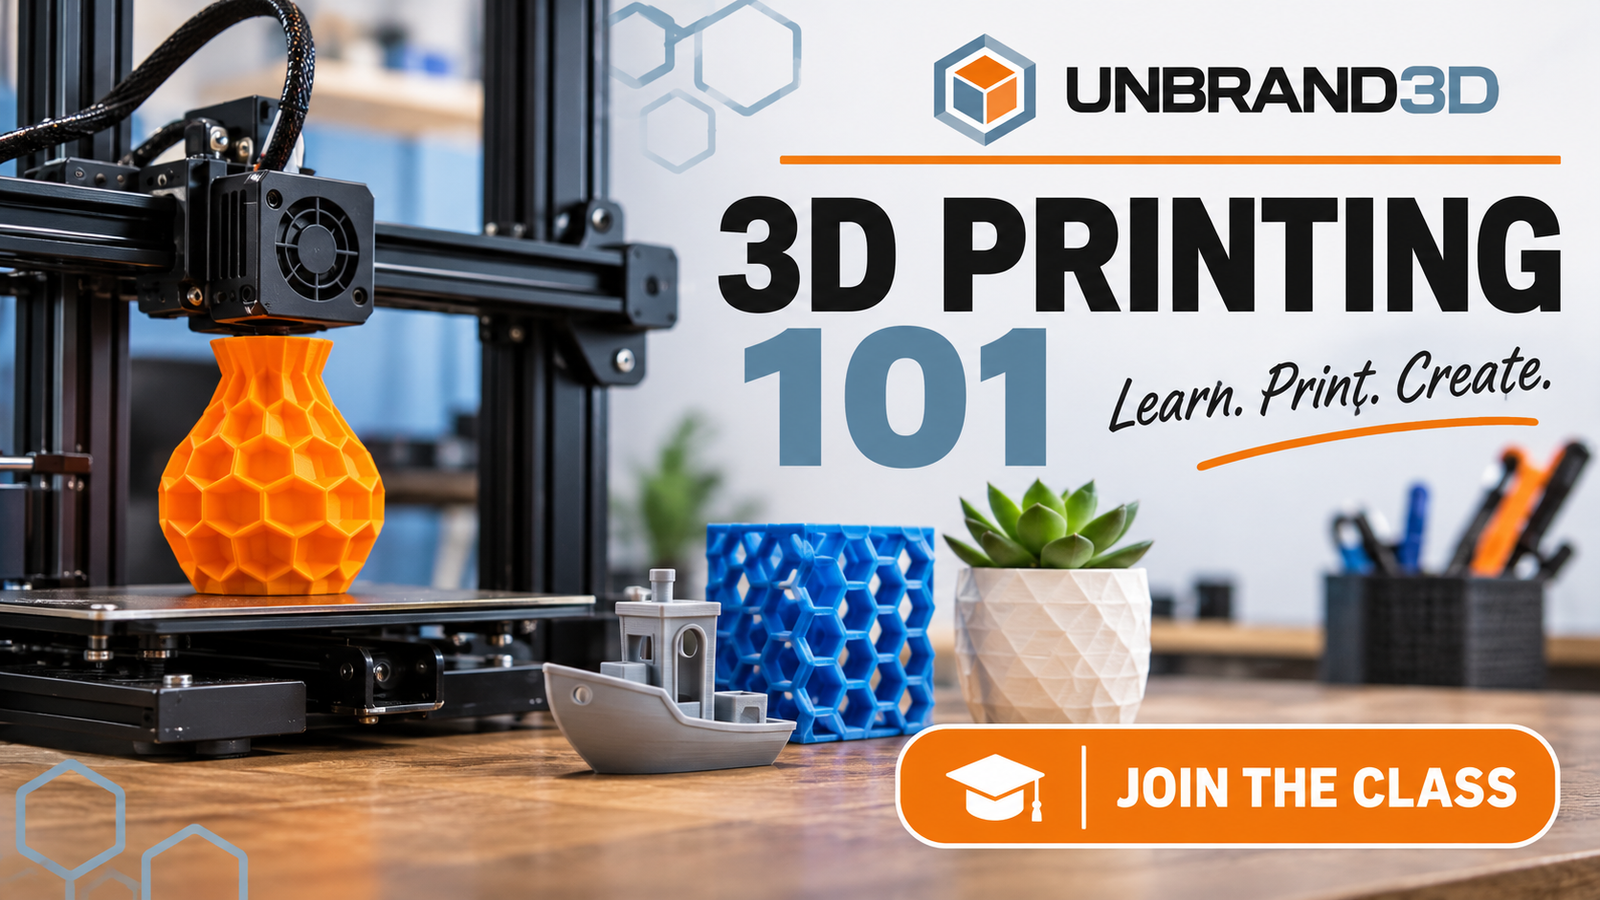
I keep getting a version of the same question, and it usually arrives sideways. Someone picks up a part I printed for them, turns it over a few times, and says: “Okay, but how hard is this to actually learn?”
Sometimes it’s a parent whose kid is excited and won’t stop talking about 3D printing. Sometimes it’s somebody who bought a printer eight months ago and haven’t touched it since, because the first print failed and they didn’t know whether that was them or the machine. Sometimes it’s a retiree with a workshop and a genuine curiosity.
The honest answer is that it’s not hard. It’s just unfamiliar, and almost nobody has anyone to show them the first part. So I built a class.
What it actually is
Two one-hour sessions, in person, here in Columbia. Small — one person or one family at a time, not a room full of strangers.
You design something, slice it, send it to a machine, and pull it off the plate yourself. The whole pipeline, start to finish, in your own hands. There is no slideshow. You will be standing at a printer within the first five minutes.
SESSION ONE — THE WHOLE LOOP
We go end to end on something small, so you see every stage instead of hearing about it. What a slicer is and why the printer can’t read your file without one. What infill is, and why 15% is usually the right answer. Why supports exist, and how to tell when you need them. Then you print the thing and take it with you.
SESSION TWO — MAKING IT YOURS
This one is optional, and you decide after the first session. We design something you actually want — usually a fix for something broken at from your house. You measure the real object, build it or 3d scan it, and sent to the printer.
Who it’s for
- People who’ve never touched a printer and want to know if this is for them before spending money on one.
- People who already bought a machine and got stuck. We’ll use mine, and you’ll go home knowing what to do with yours.
- A parent and a kid together. This works better than you’d think — the kid picks it up fast and the parent stops being the one who has to know all the answers.
- Anyone who likes making things and has watched this technology from a distance for a while.
What you take home
Whatever you printed, plus the UNBRAND3D 3D Printing Cheat Sheet — two pages covering the pipeline, the settings that matter, where to get and design files, and which material to reach for when. It’s written for your first week and it’s still useful in year three. Tape it above the machine.
What it isn’t
It isn’t a sales pitch. If you ask me what printer I’d get, I’ll tell you honestly and then we’ll get back to work.
It also isn’t a certification or a lecture series. It’s two hours of doing the thing with someone who does it every day, which is roughly what I wish I’d had when I started.
The details
- Where: My shop space in Columbia, SC. I’ll send the address when we schedule.
- How long: One hour per session, two sessions. The second is optional.
- What to bring: Nothing. Machines, material and tools are all provided. If you own a printer, bring the model name and we’ll talk about it.
- Group size: One person or one family per session.
A straight note about where this stands. This is brand new — I’ve run it once, for a dad and his ten-year-old, and it went well enough that I want to do more of it. I haven’t set pricing yet, and I’m not taking payment or holding dates.
Right now I’m just trying to find out whether there’s real interest in the Midlands, and what people actually want out of it. So if any of the above sounds like you, say so. No commitment, no deposit, nothing to cancel.
INTERESTED? TELL ME.
Let me know you’d want to come and I’ll get in touch as sessions and pricing firm up. Tell me a little about where you’re starting from — total beginner, stuck printer, parent and kid — and it’ll shape how I run it.
And if you’re not interested in a class but you have a printer that’s misbehaving — send me a photo of the failed print. I’ll tell you what happened. That part’s free and it always has been.
— Daniel, UNBRAND3D